Mastering Arc & Flick Bets: Advanced Table Strategy Guide
Between Arc Throws
Arc throw will be difficult to execute, and you will only Azure Foil Casino achieve great mastery when this is possible.
Controlling Power and Speed
Lower the arc and add speed to it, and the Flick really scores big.
Position and Shot
Strive to keep the majority of your shots in the middle third of the table. A stable hand bridge position is key to maintaining a consistent angle through three-rail patterns. And it’s because of this zone control that you can smoothly progress backward or forward to offensive combinations.
Advanced Shot Preparation
Uncoil the wrist for high-speed flicks. Perfect this technique and add curving flight paths and rapid-fire attack, and you instantly have a formidable offensive weapon that your opponent will have difficulty keeping out, no matter how hard he tries.
Position Control: A Better Way
Follow this method for negotiating three-rail patterns:
- Maintain a stable shot angle.
- Stabilize bridge-hand position.
- Make speed adjustments with precision.
- Think about the zones on the table.
With this machine-gun-style onslaught, both technical superiority and tactical flexibility give rise to some powerful scoring options.
The Mechanics of Arc Throws
The Comprehensive Guide to Arc Throw Mechanics
The Right Grip and Posture for Beginners
The ball will start its trajectory at your 45-degree position. By spinning the disc quickly and sharply, 2-3 revolutions are generated every second. If you want a curved flying path, don’t use a straight swinging technique. Instead, swing the frisbee in an arc of sufficient radius to generate the necessary angular momentum through the back-swing motion and leverage.
Stance and Power Generation
Proper throwing posture involves not just arms and shoulders but strategic body positioning and movement. Do not stand too stiffly; balance your weight between legs, with the throwing shoulder slightly back to harness more energy from within yourself. Launch force from the waist, twisting forward to generate the bulk of throwing force from your body’s midsection, rather than relying only on arm power.
Release Timing
Release timing has a direct effect on arc width: An earlier release creates a wider curve, while slower ones produce sharper arcs.
Key technical elements:
- Wrist angle: 45-degree position
- Leading edge tilt: 10-15 degrees upward
- Spin rate: 2-3 revolutions per second
- Power source: Core rotation
- Release timing: Early for wide arcs, late for tight curves

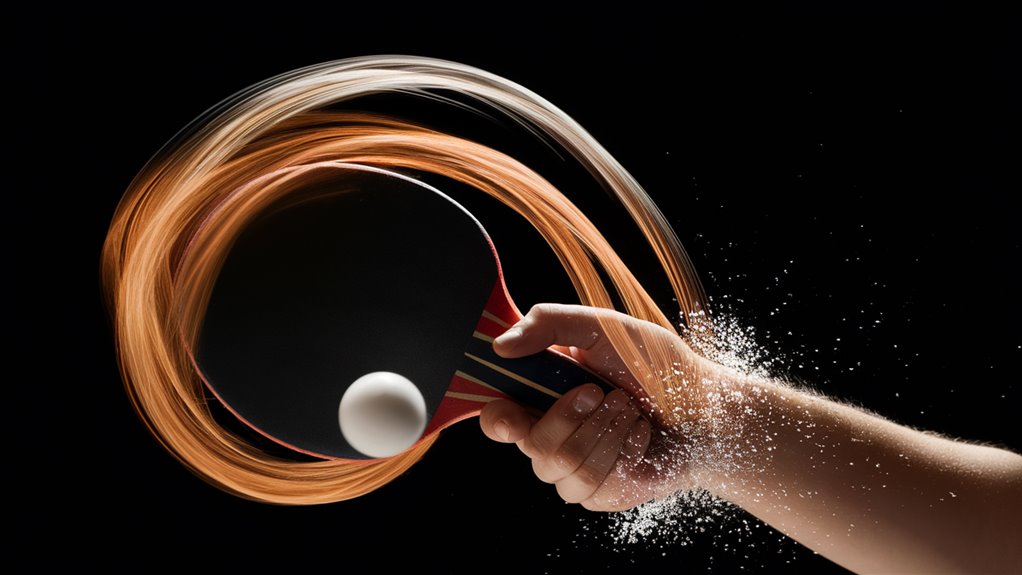
Essential Flick Shot Fundamentals
Overview of the Essential Flick Shot Fundamentals in Table Tennis
Mastering the essential flick shot requires a specific set of technical skills. The longer rod is leveraged to its full potential, maintaining perfect balance between force, which is achieved by the two arms (led arm, lifting arm).
Power Generation
Coordinated arm work and a forceful wrist drive, with correct timing of the power generation, result in the flick shot. The key to this maneuver lies in getting both speed and spin by sharply flicking the ball.
Follow-Through and Common Errors
Complete your follow-through parallel to the table surface. A common technical error is letting your racket angle drift upward upon contact with the ball, which causes the shot to go far beyond the table. Uncontrolled embedding of horizontal force in follow-through Riversong Rift Poker creates opportunities for your opponents.
Rubber and Release Techniques
Mastering Rubber and Release Techniques in Table Tennis
Fundamentals of the Essential Grip
Maintain a firm yet relaxed grip, applying approximately seventy percent of maximum pressure. Adjust the index finger slightly to the forehand side of the blade to achieve the greatest control and precision of the shot.
Optimal Release
Start with the wrist cocked back to store up energy for a strong forward motion. Keep your arm muscles relaxed, but there should always be some tension remaining in readiness.
Release timing at advanced levels:
- The trigger moment for spin comes when your racket face is 45 degrees with regard to the table surface.
- The grip must modulate precisely with this optimum angle for maximum effectiveness.
Speed Control during Combination Shots
Adjusting speed for combination shots requires careful modulation between them to stay tactically superior.
- Soft-speed combinations: Keep a loose grip at 40%-50% power.
- Medium-speed combinations: Try 60%-70% of maximum energy.
- Power combinations: Use 85%-90% energy while maintaining accuracy.
Momentum Transfer and Position Control
During combinations, the second ball should travel at about 70% of the cue ball’s speed to ensure proper positioning. The length of your follow-through determines how much momentum will be transferred.
Advanced Table Position Strategies
Mastering the Middle Position
Tactical play mode requires multiple shot grand routing while making arc-flick combinations. The best control region on the table is in the middle third, allowing both arc shots and stopping cue tests to be cut just right.
45-Degree Angle Positioning
Strategic shot-making depends on creating 45-degree angles between the cue ball and object balls. This positioning allows the player to control both gentle arcs and power flicks comfortably without adjusting stance.
Three-Rail Position Pattern
Complete a three-rail position pattern by tracing 먹튀검증 순위 out a triangle to control the balls. Whether you play two-rail arc shots followed by single-rail flicks, stay within the control zone.
Key elements of position control:
- Center table positioning
- Diamond-based targeting
- Speed differential mastery
- Multi-rail pattern execution